
Custom Enclosures for Laboratory and Analysis Equipment
ZRD develops and manufactures custom laboratory equipment housings for analyzers, pathology systems, sample-processing equipment and laboratory workstations. We help align the exterior panels with internal modules, displays, controls, ventilation, cable routing and service access from prototype through production
From an early concept or enclosure drawing to prototype validation, forming, CNC trimming, finishing, assembly and repeat production, our team can support the manufacturing stages defined for your project.
Laboratory Equipment We Support
Every laboratory system has a different internal layout and service workflow. We review the enclosure around the equipment’s actual interfaces, operating position and maintenance requirements.
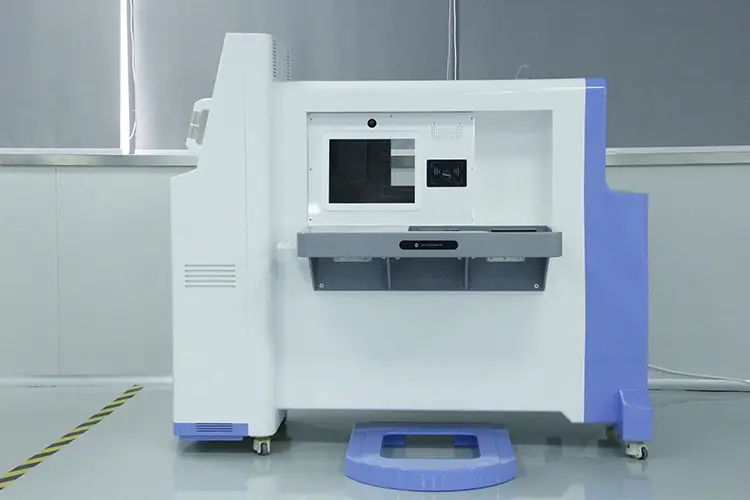
Laboratory Analyzers
Custom housings for benchtop or floor-standing analyzers with display openings, control areas, sample access, ventilation and rear cable interfaces.
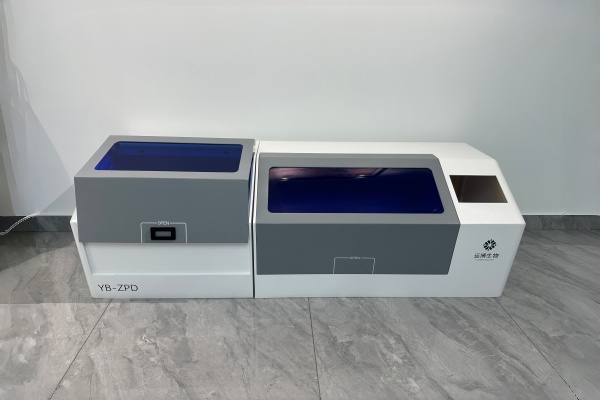
Pathology and Histology Equipment
Enclosure concepts for pathology instruments and histology systems that require clear operator access, removable service panels and coordinated interfaces around internal modules.
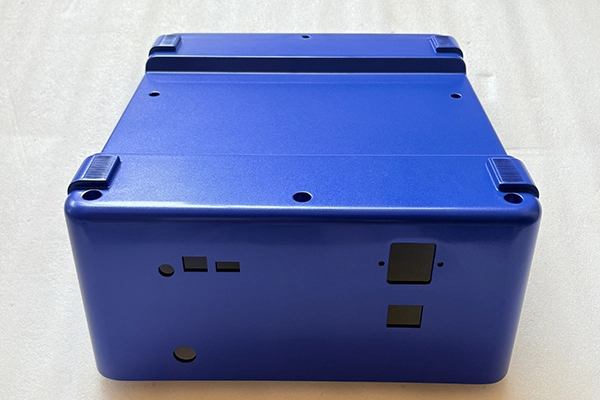
Sample-Processing Systems
Housing solutions for equipment that handles samples, trays, cartridges or consumables and needs controlled openings, doors, covers and component access.
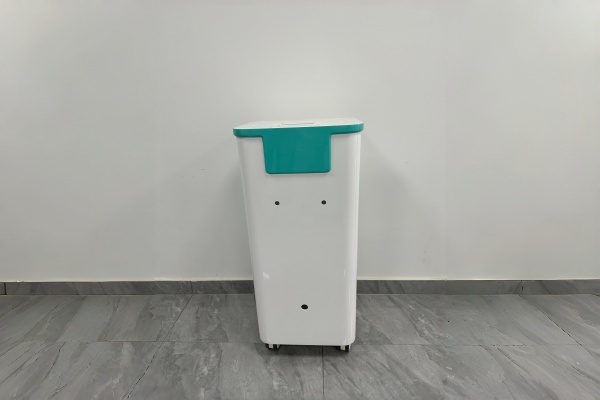
Laboratory Automation Equipment
Custom external panels for automated laboratory platforms with moving modules, robotic interfaces, sensors, cable paths and maintenance zones.
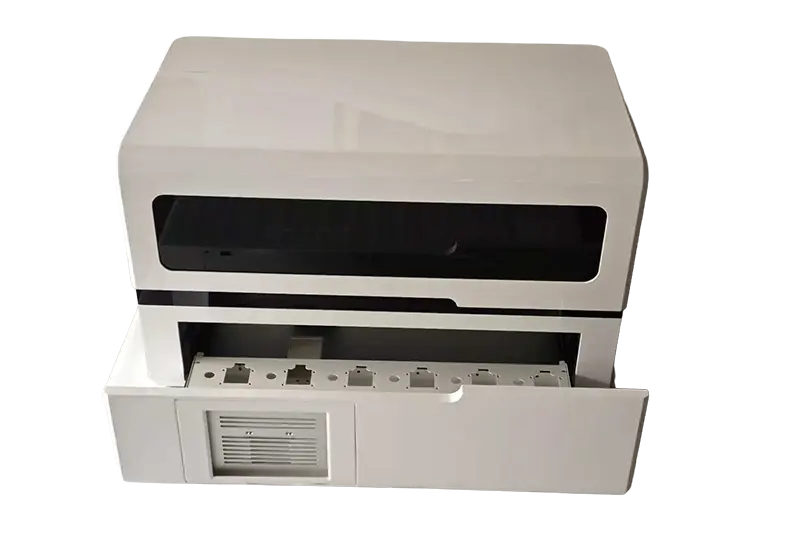
Laboratory Workstations
Integrated housings and panel sets for laboratory workstations, instrument stands and equipment support systems requiring coordinated appearance and practical access.
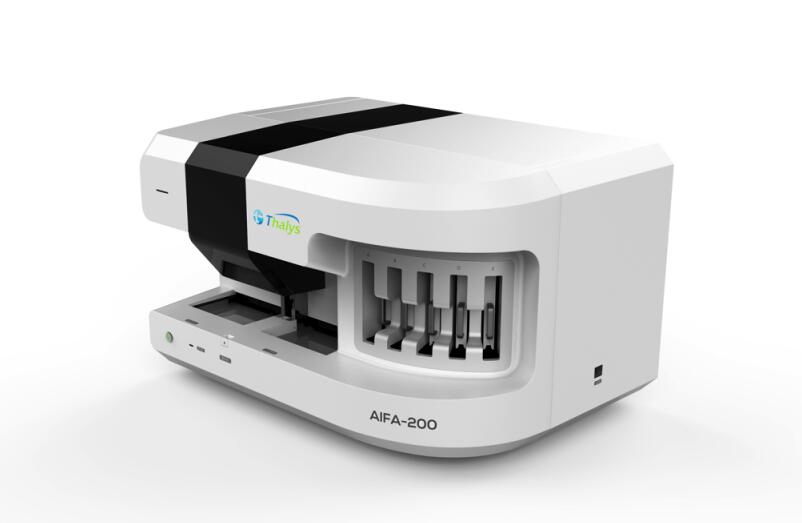
Other Laboratory Systems
If your equipment type is not listed, send the available layout and enclosure requirements. We can review the project according to its geometry, interfaces, quantity and production stage.
Common Project Challenges
Laboratory Enclosures Designed Around the Equipment Inside
A laboratory enclosure must protect and organize the equipment while remaining accessible to operators, technicians and service teams. The following requirements should be reviewed before the manufacturing route is selected.
Internal Modules Need a Stable External Reference
Displays, electronics, pumps, fans, sensors and sample-handling modules can affect the position of every visible opening. We review the available internal frame or component data so the enclosure is developed around real interfaces.
Fewer late changes to screen openings, mounting points and panel clearances.
Operators and Technicians Need Practical Access
Doors, removable covers, service panels and access openings should be considered together with the actual maintenance sequence. We can review panel splits, fastener locations, hinge areas and removal direction during the design review.
A serviceable enclosure reduces the risk of blocked access and unnecessary panel removal during assembly or maintenance.
Visible Interfaces Must Match the User Workflow
Screen bezels, buttons, indicators, barcode readers, USB ports, power inlets and other connectors need accurate openings and usable clearances. Critical interfaces should be identified in the drawing package before quotation.
Better alignment between the user interface, the internal components and the final enclosure panels.
Ventilation and Cable Routing Should Be Built Into the Housing
Fan openings, air paths, cable exits and strain-relief locations should be reviewed with the internal layout. The required airflow, temperature range and environmental conditions must come from the equipment specification.
The enclosure design leaves space for the required airflow and cable movement instead of adding openings late in production.
Appearance and Assembly Have to Be Reviewed Together
Large visible panels, seams, parting lines, fasteners, inserts, texture, gloss and printing all influence the finished appearance. We review these details against customer drawings, color references or approved samples.
A clearer acceptance reference for visible surfaces and panel-to-panel fit.
The Prototype Route Should Leave a Path to Production
A prototype may use CNC-machined plastic or another short-run method, while the approved production design may use vacuum forming, molding or a mixed-process construction. We discuss the next route as the design becomes stable.
The prototype is used to validate the product instead of becoming an isolated part with no production plan.
Selecting a Manufacturing Route for Your Laboratory Housing
The right route depends on enclosure size, geometry, design maturity, quantity, surface requirements and the environment specified for the equipment. Final material and process selection requires drawing and requirement review.
CNC Plastic Prototype
Suitable for early design validation when the team needs to check the enclosure form, openings, internal fit or assembly before committing to production tooling.
Thick-Sheet Vacuum Forming
May be evaluated for larger external panels and low-to-medium volume projects where panel size, tooling investment and repeatability need to be balanced.
Tooling and Injection Molding
May be evaluated for stable enclosure components and repeat production when geometry, visible surfaces, quantity and tooling assumptions have been approved.
Mixed-Process Laboratory Housing
A complete system may combine formed or molded panels, CNC-trimmed interfaces, metal supports, inserts, finishing and assembly. The route is selected around the complete equipment rather than one isolated part.
Material Note: Material recommendations should be based on the customer's required stiffness, weight, appearance, processing method, operating environment and cleaning or chemical exposure specification. ZRD does not treat one material as suitable for every laboratory application.
From Laboratory Enclosure Prototype to Production
Enclosure Manufacturing Path
Whether the project is still at concept stage or ready for production transfer, the next step depends on the design files, quantity and validation requirements available today.
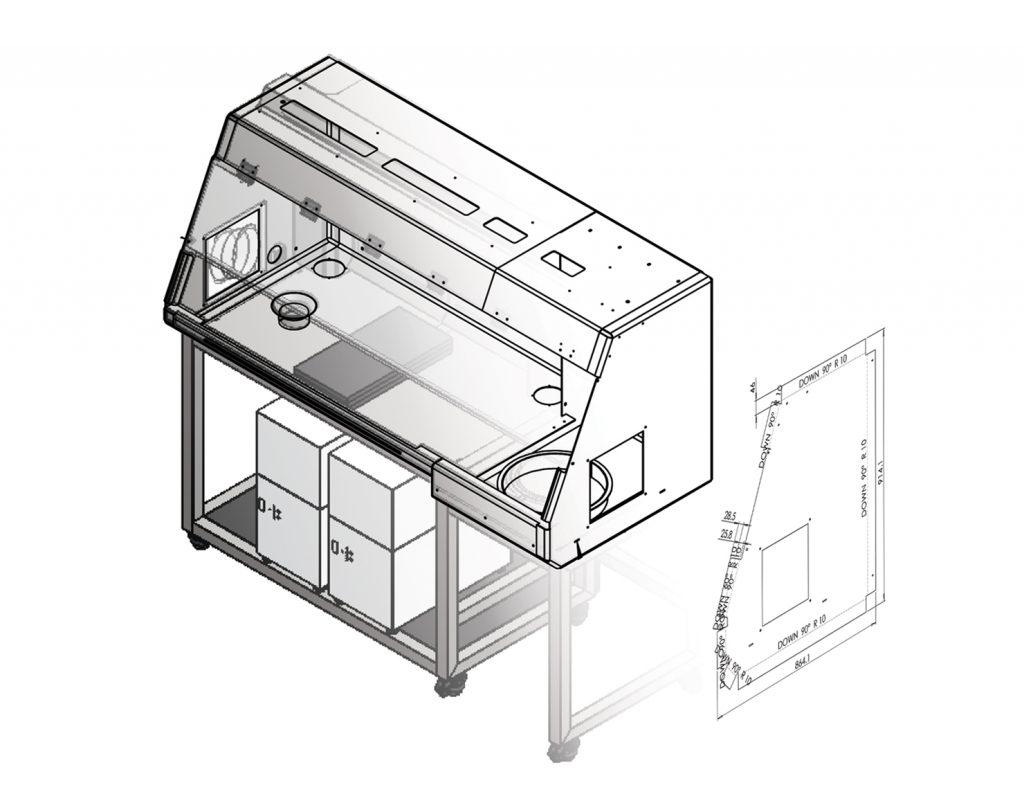
Concept and Early Design
Share the equipment layout, target enclosure size and known interface requirements. We can identify missing information and manufacturing questions for the next design review.
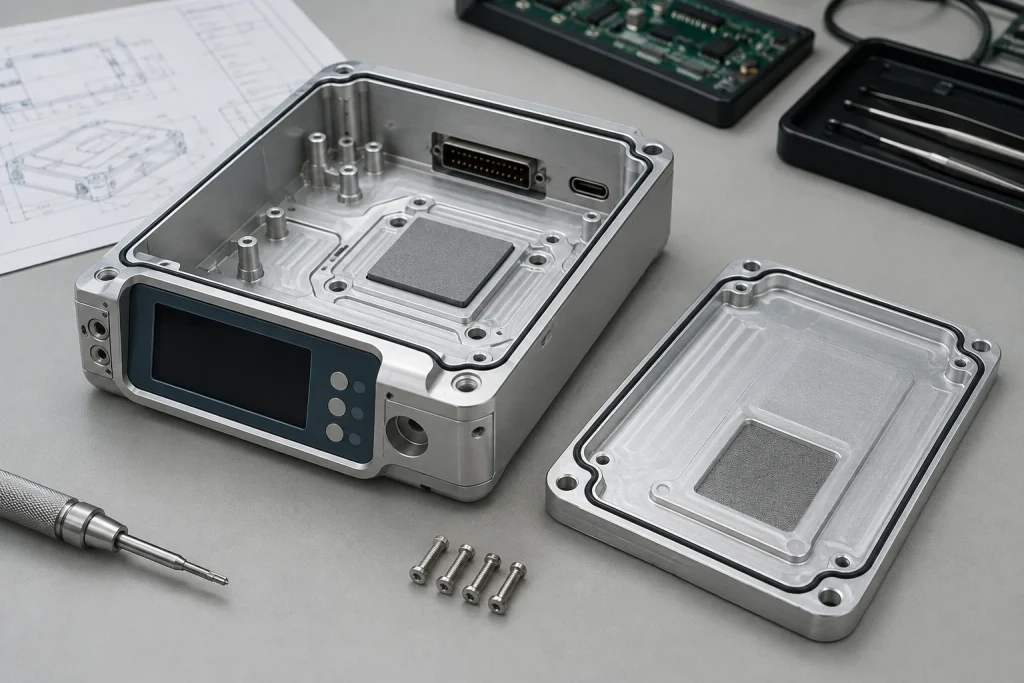
Prototype and Fit Validation
Use a prototype to confirm exterior form, display and connector openings, access panels, clearances, internal frame fit and assembly sequence.
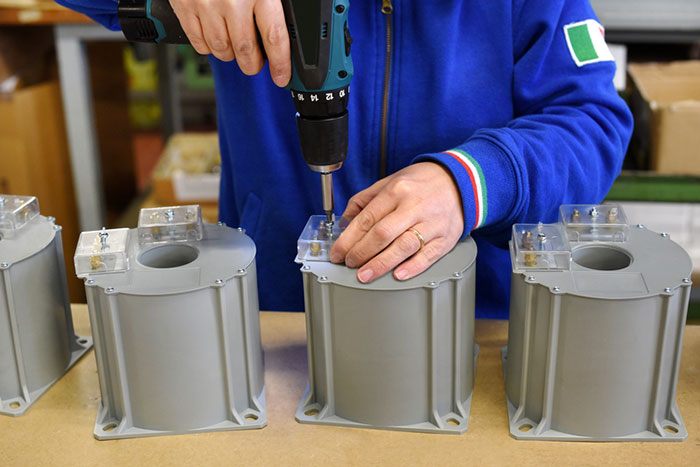
Pilot and Process Confirmation
After the design is approved, confirm the production route, tooling or fixtures, finish, inspection points and sample approval process.
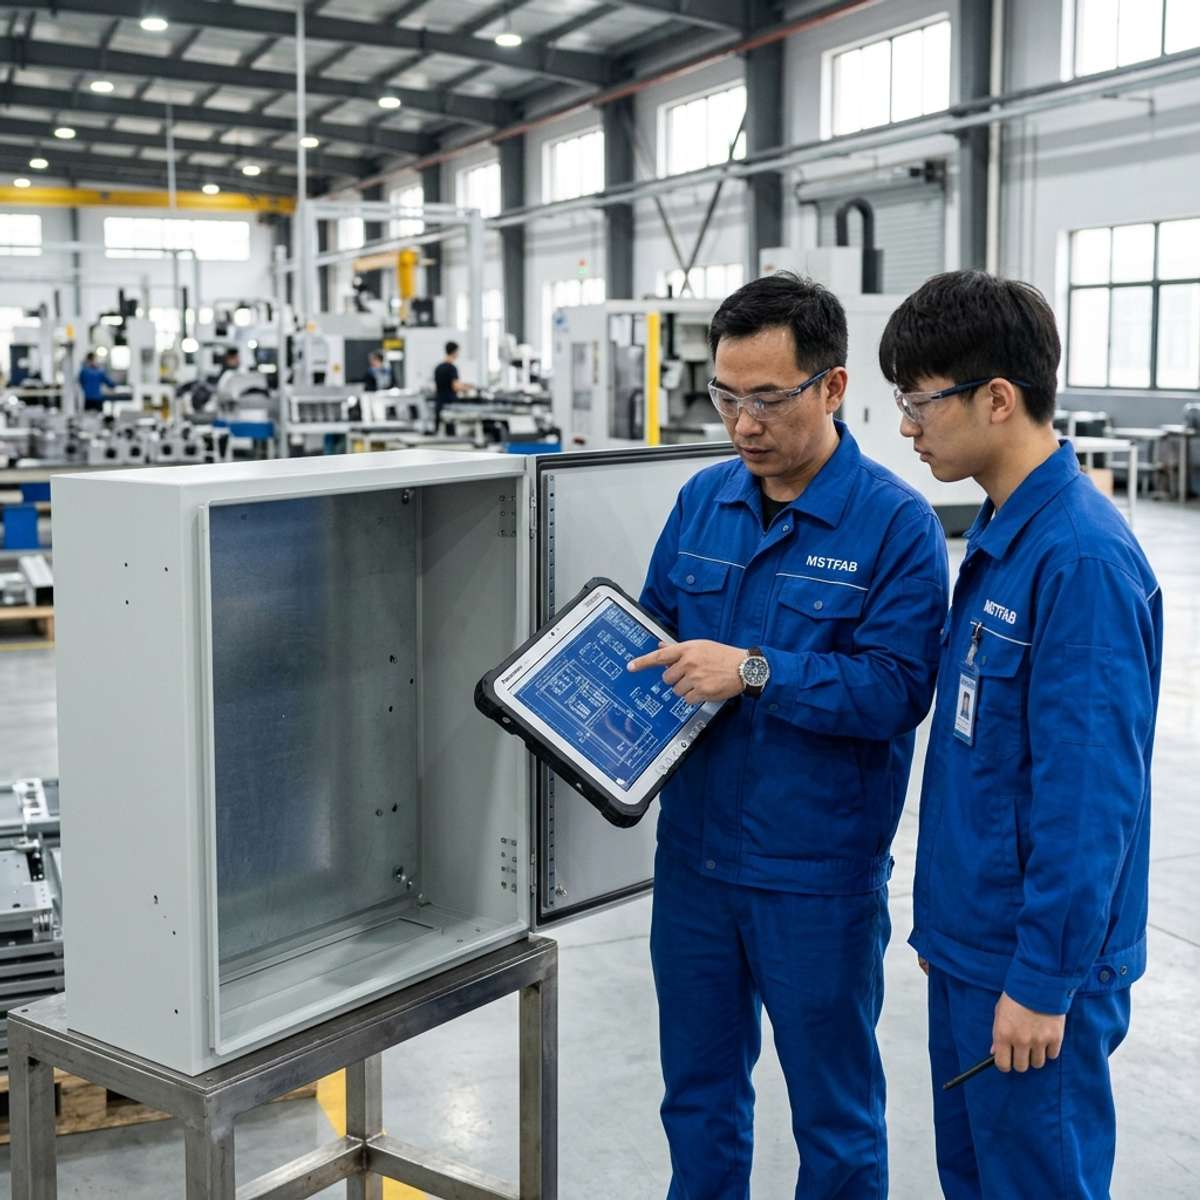
Repeat Production
Produce the agreed enclosure scope with coordinated trimming, finishing, printing, assembly and inspection according to the approved documents.
Selected Enclosure Projects
These projects show how forming, machining, finishing and assembly can be combined around the complete medical equipment housing
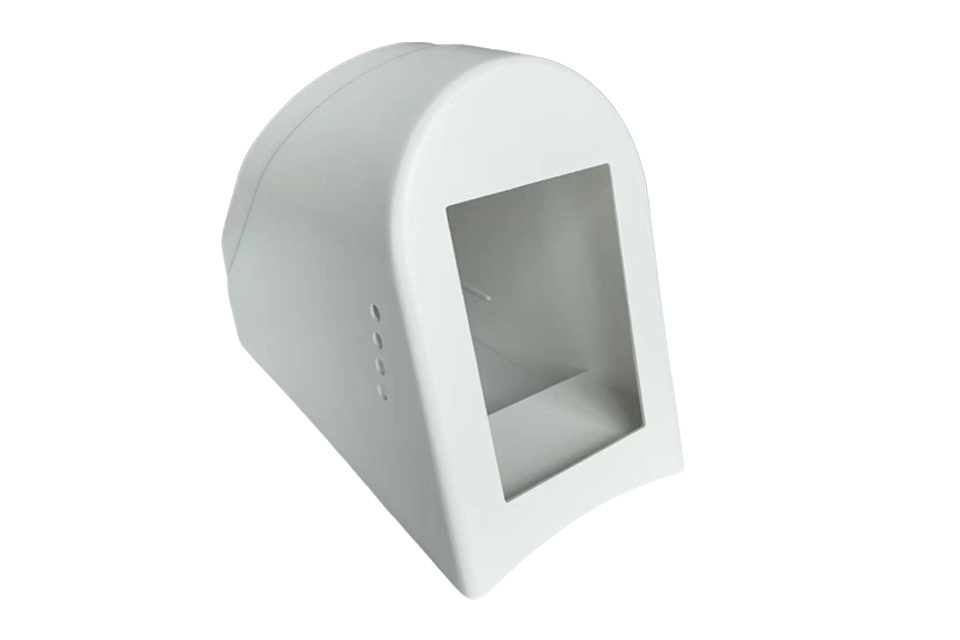
A beauty device enclosure has to do more than protect internal electronics. For tabletop aesthetic and physiotherapy equipment, the housing
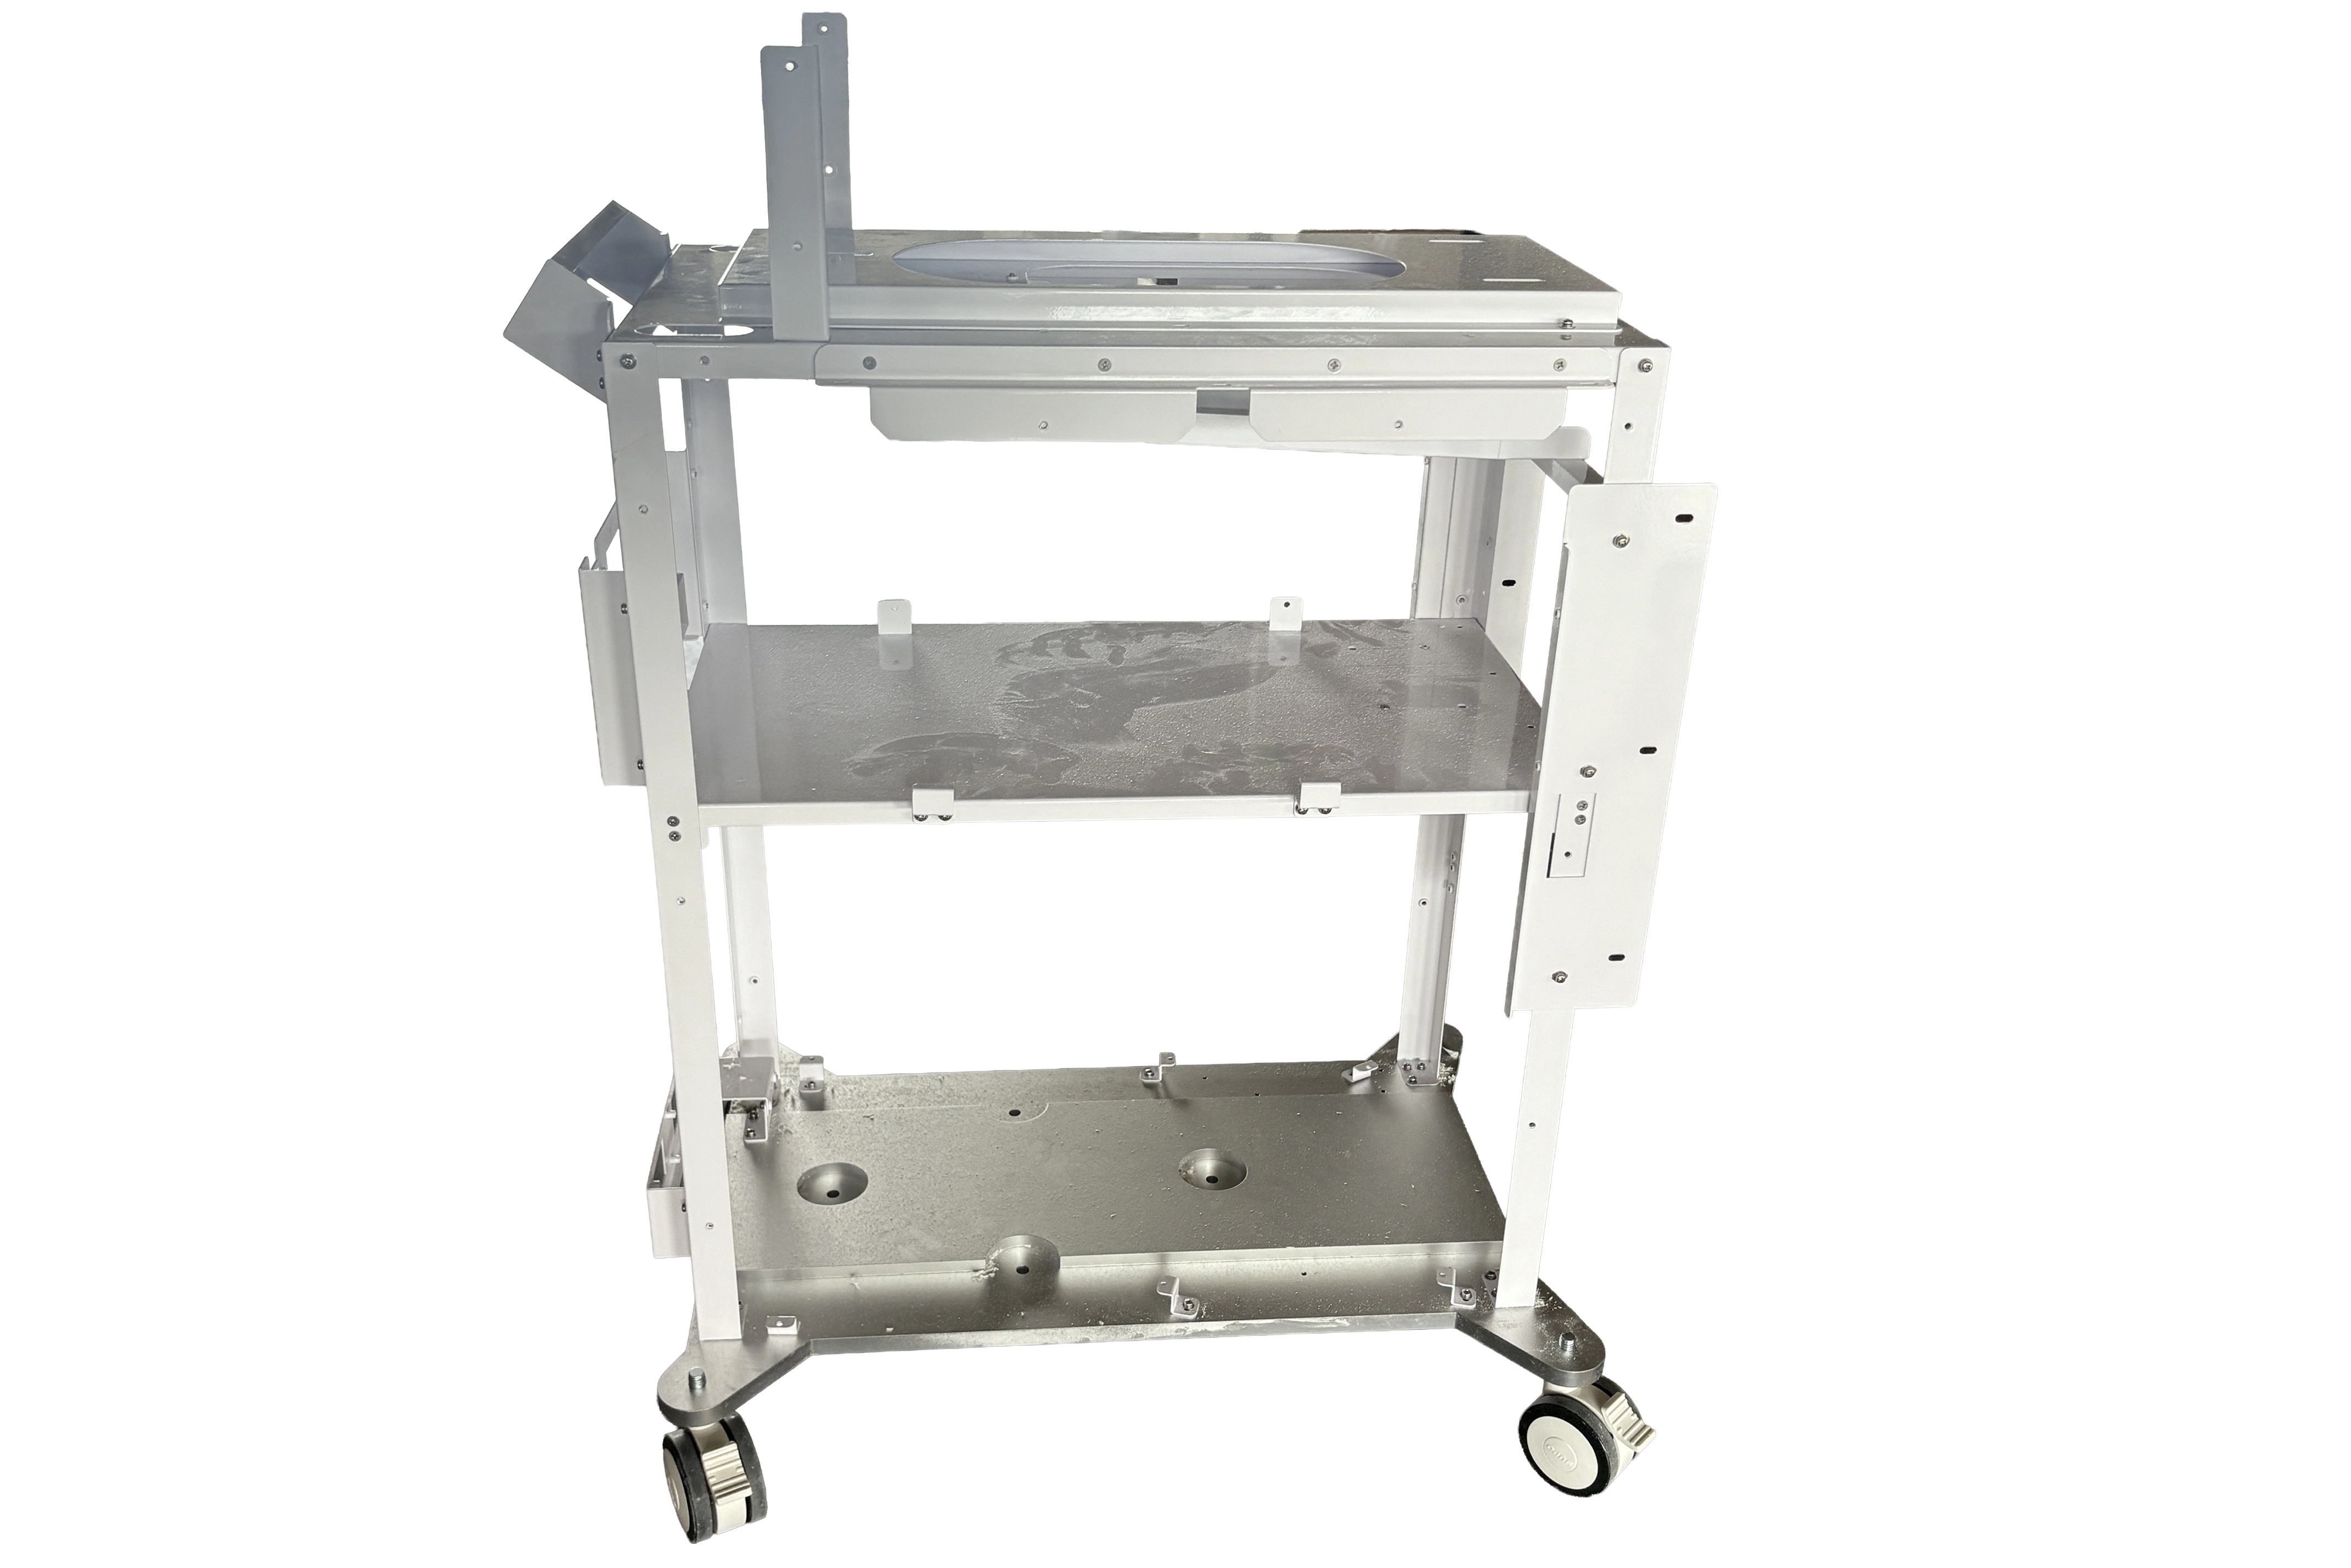
A mobile medical or aesthetic device is more than an outer plastic housing. Behind the enclosure, there is often a
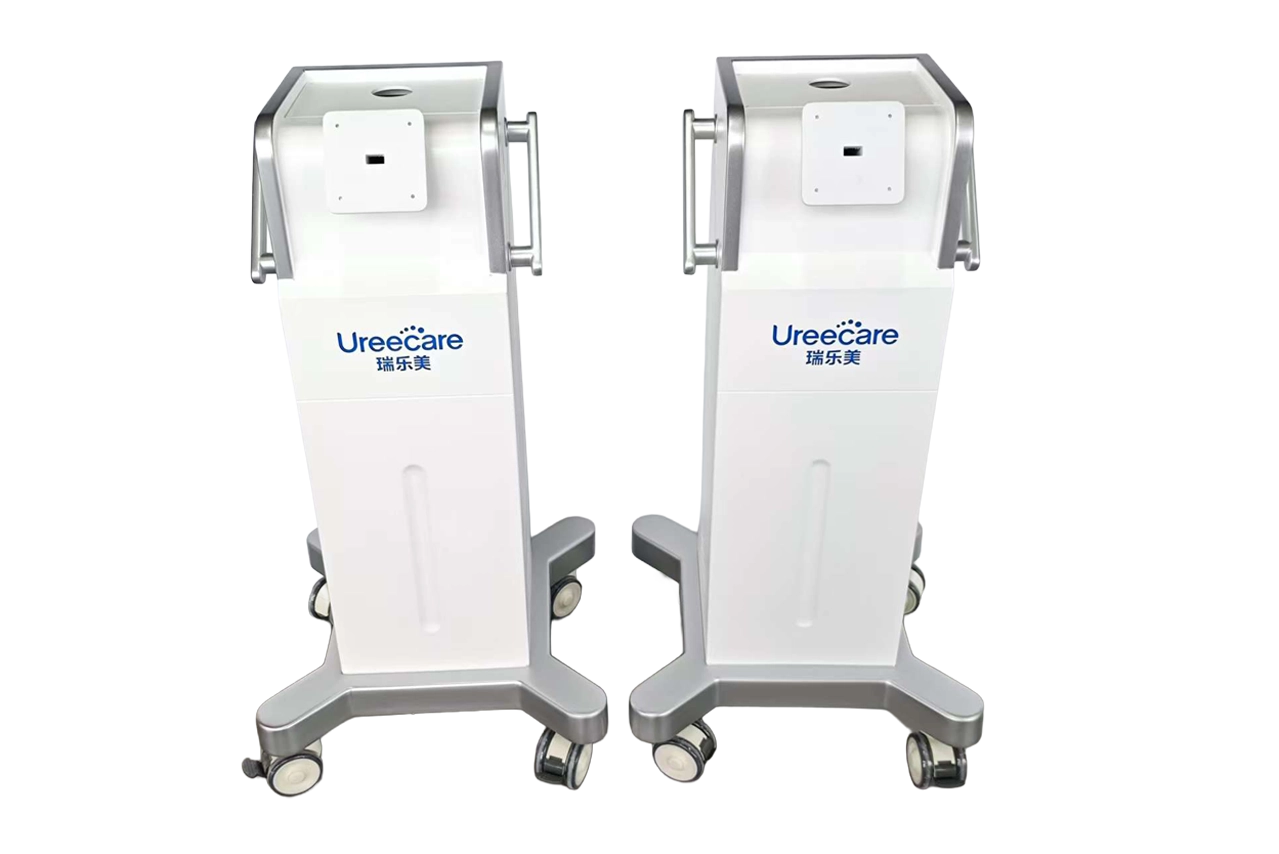
A medical device cart enclosure must do more than cover the electronics inside a mobile medical system. It needs to
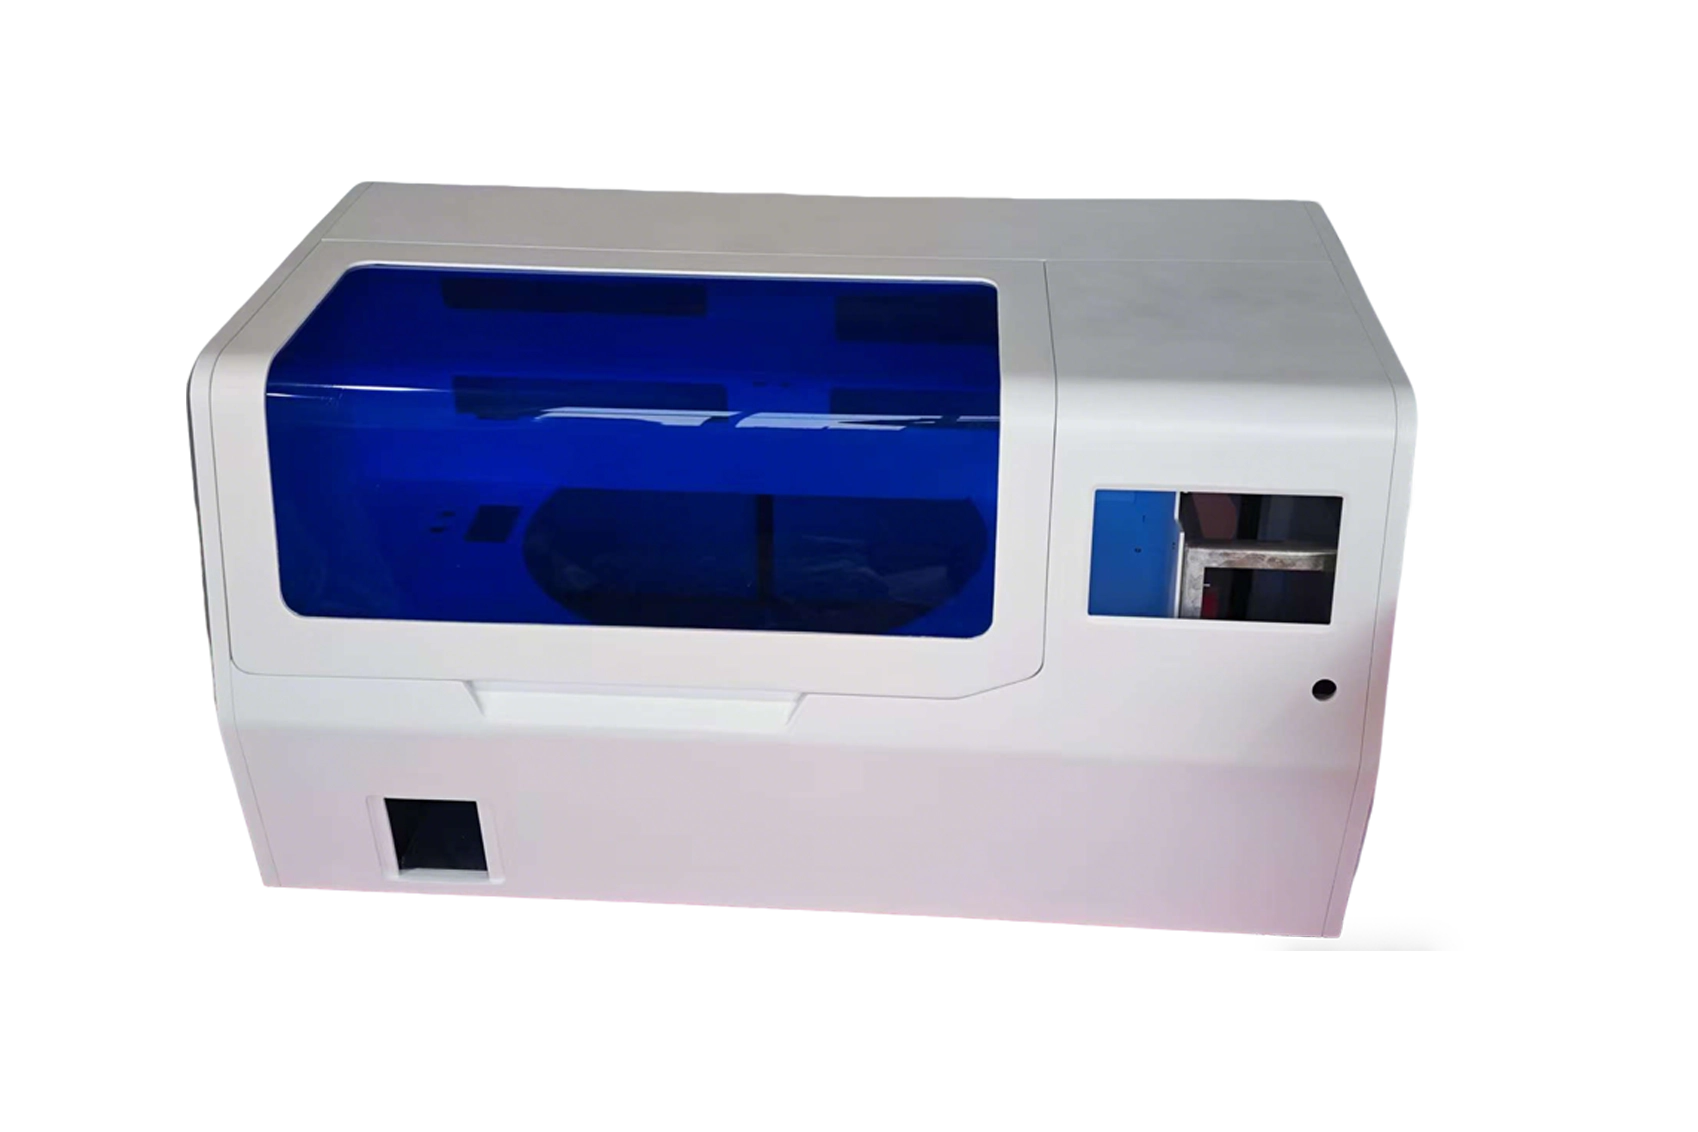
A custom medical device enclosure must do more than cover the equipment inside. For laboratory and diagnostic instruments, the enclosure
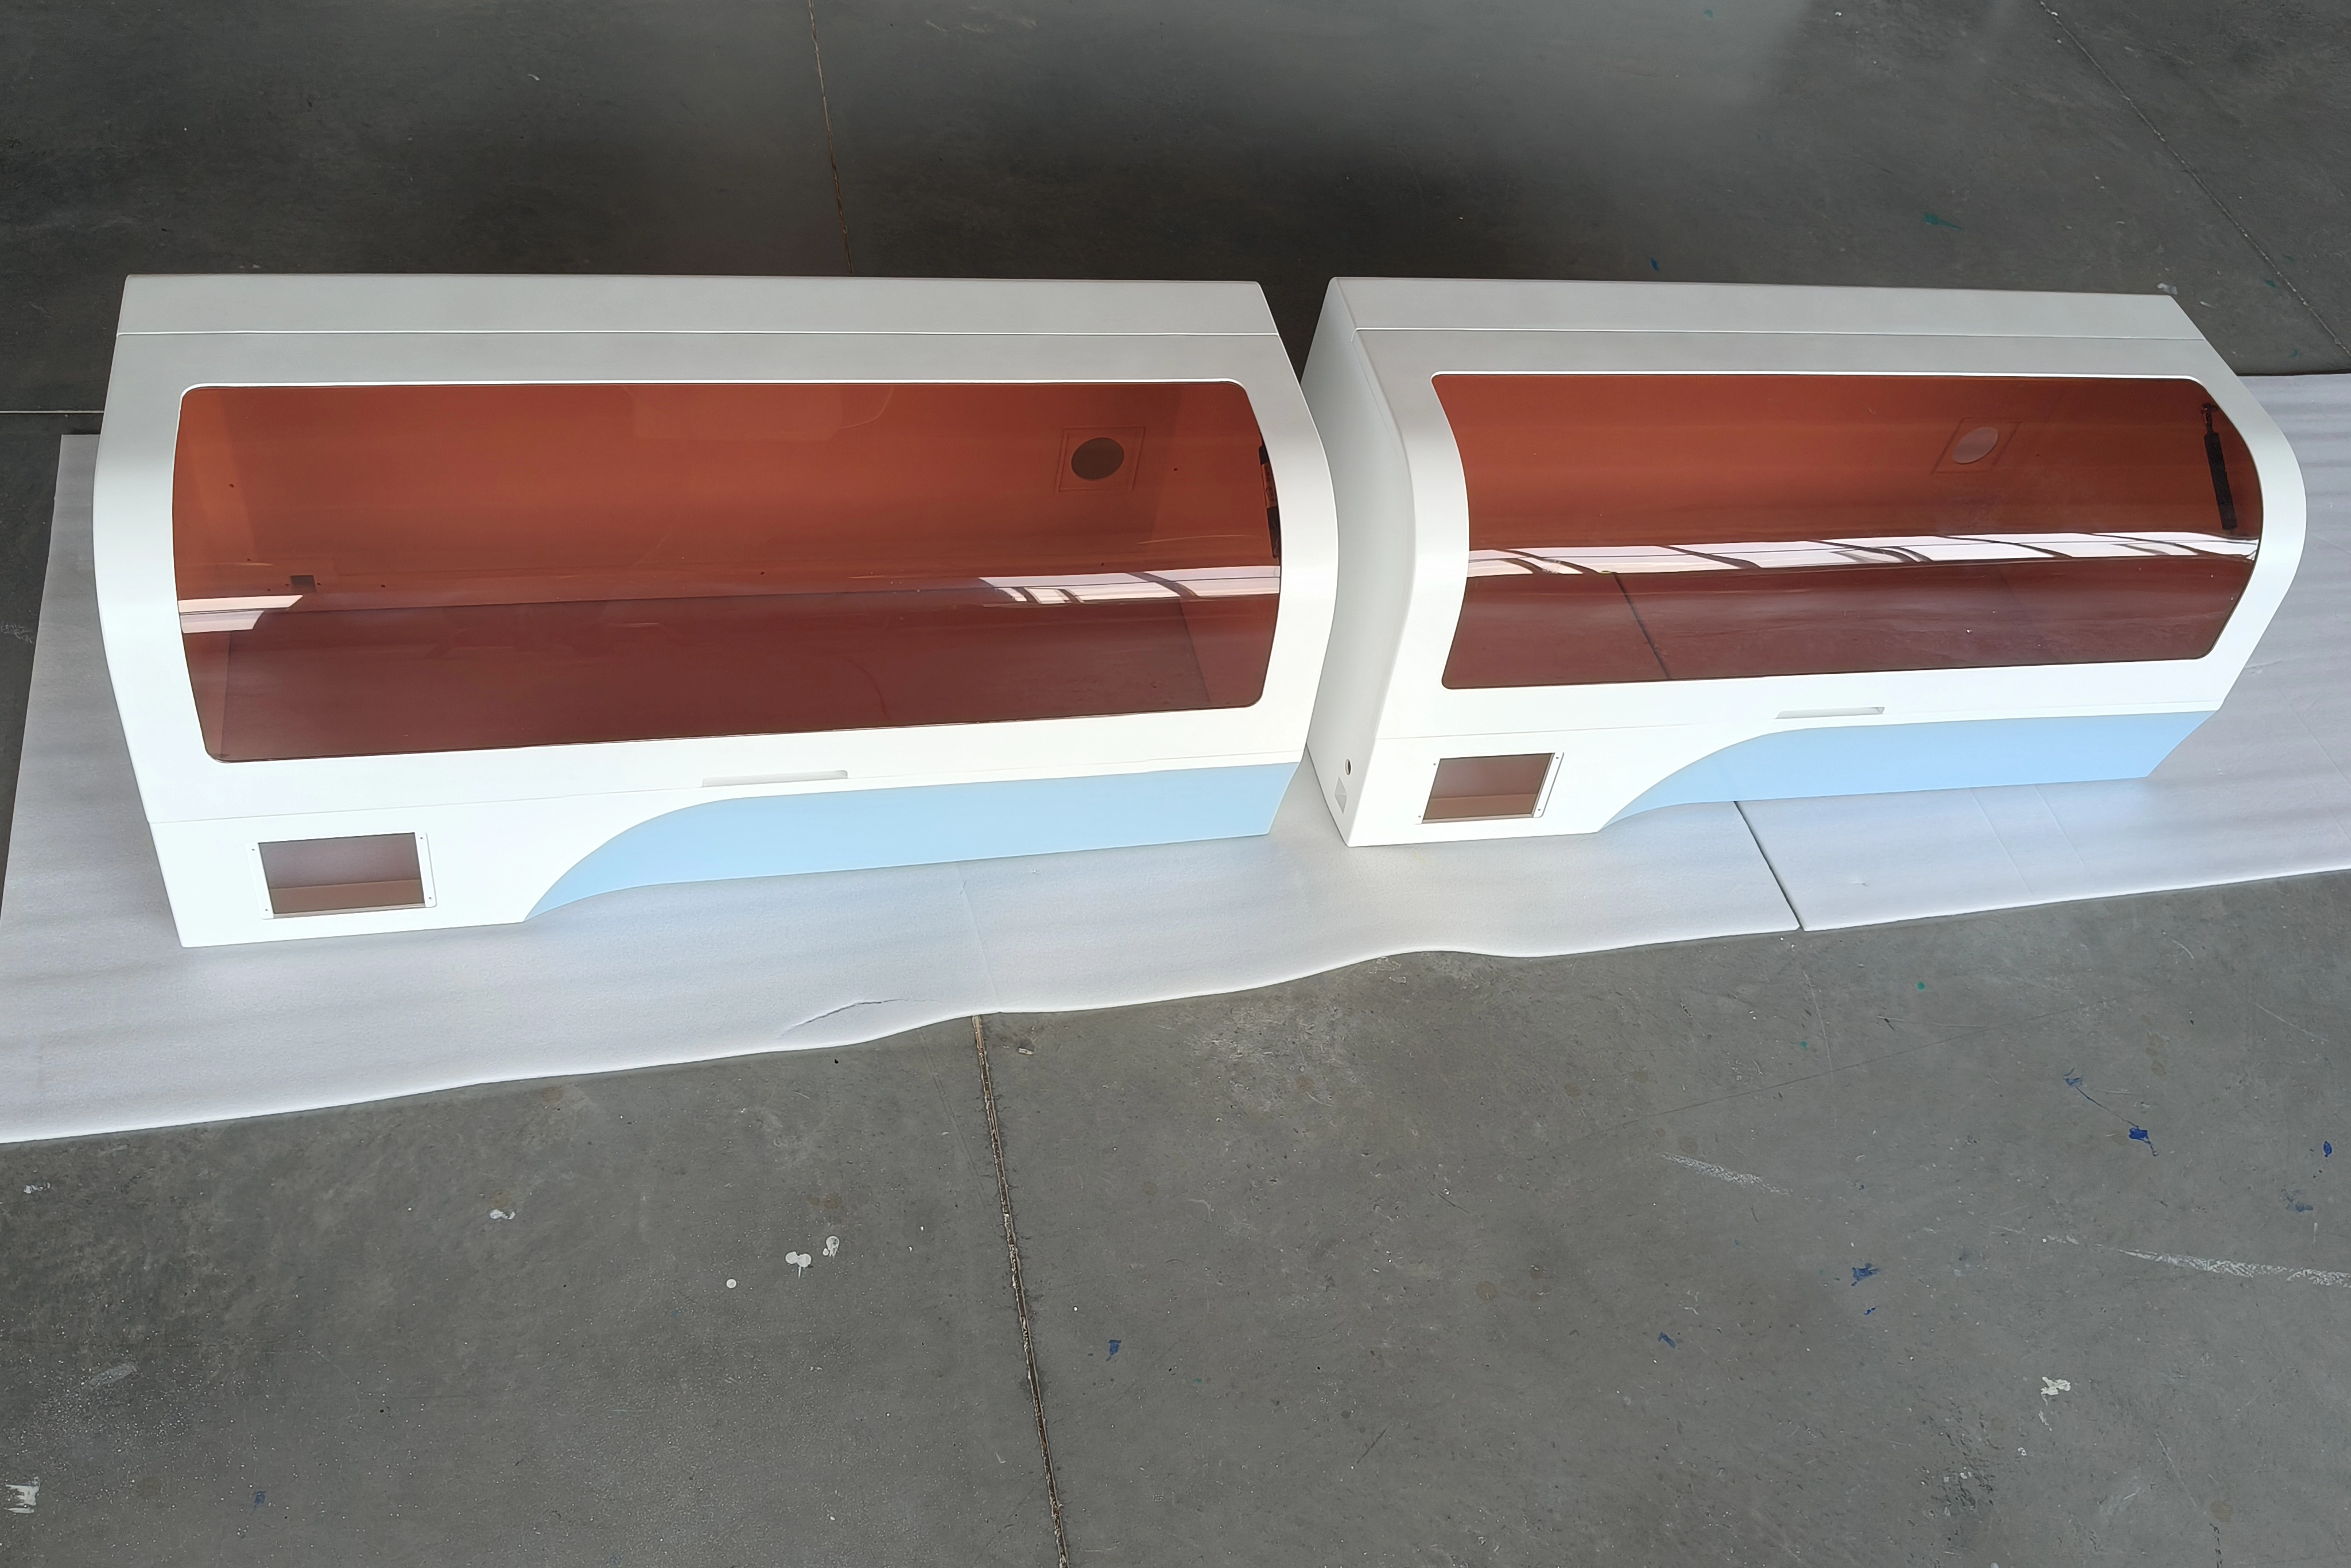
A laboratory equipment enclosure has to do more than cover the internal mechanism. For automated laboratory analyzers, the housing must
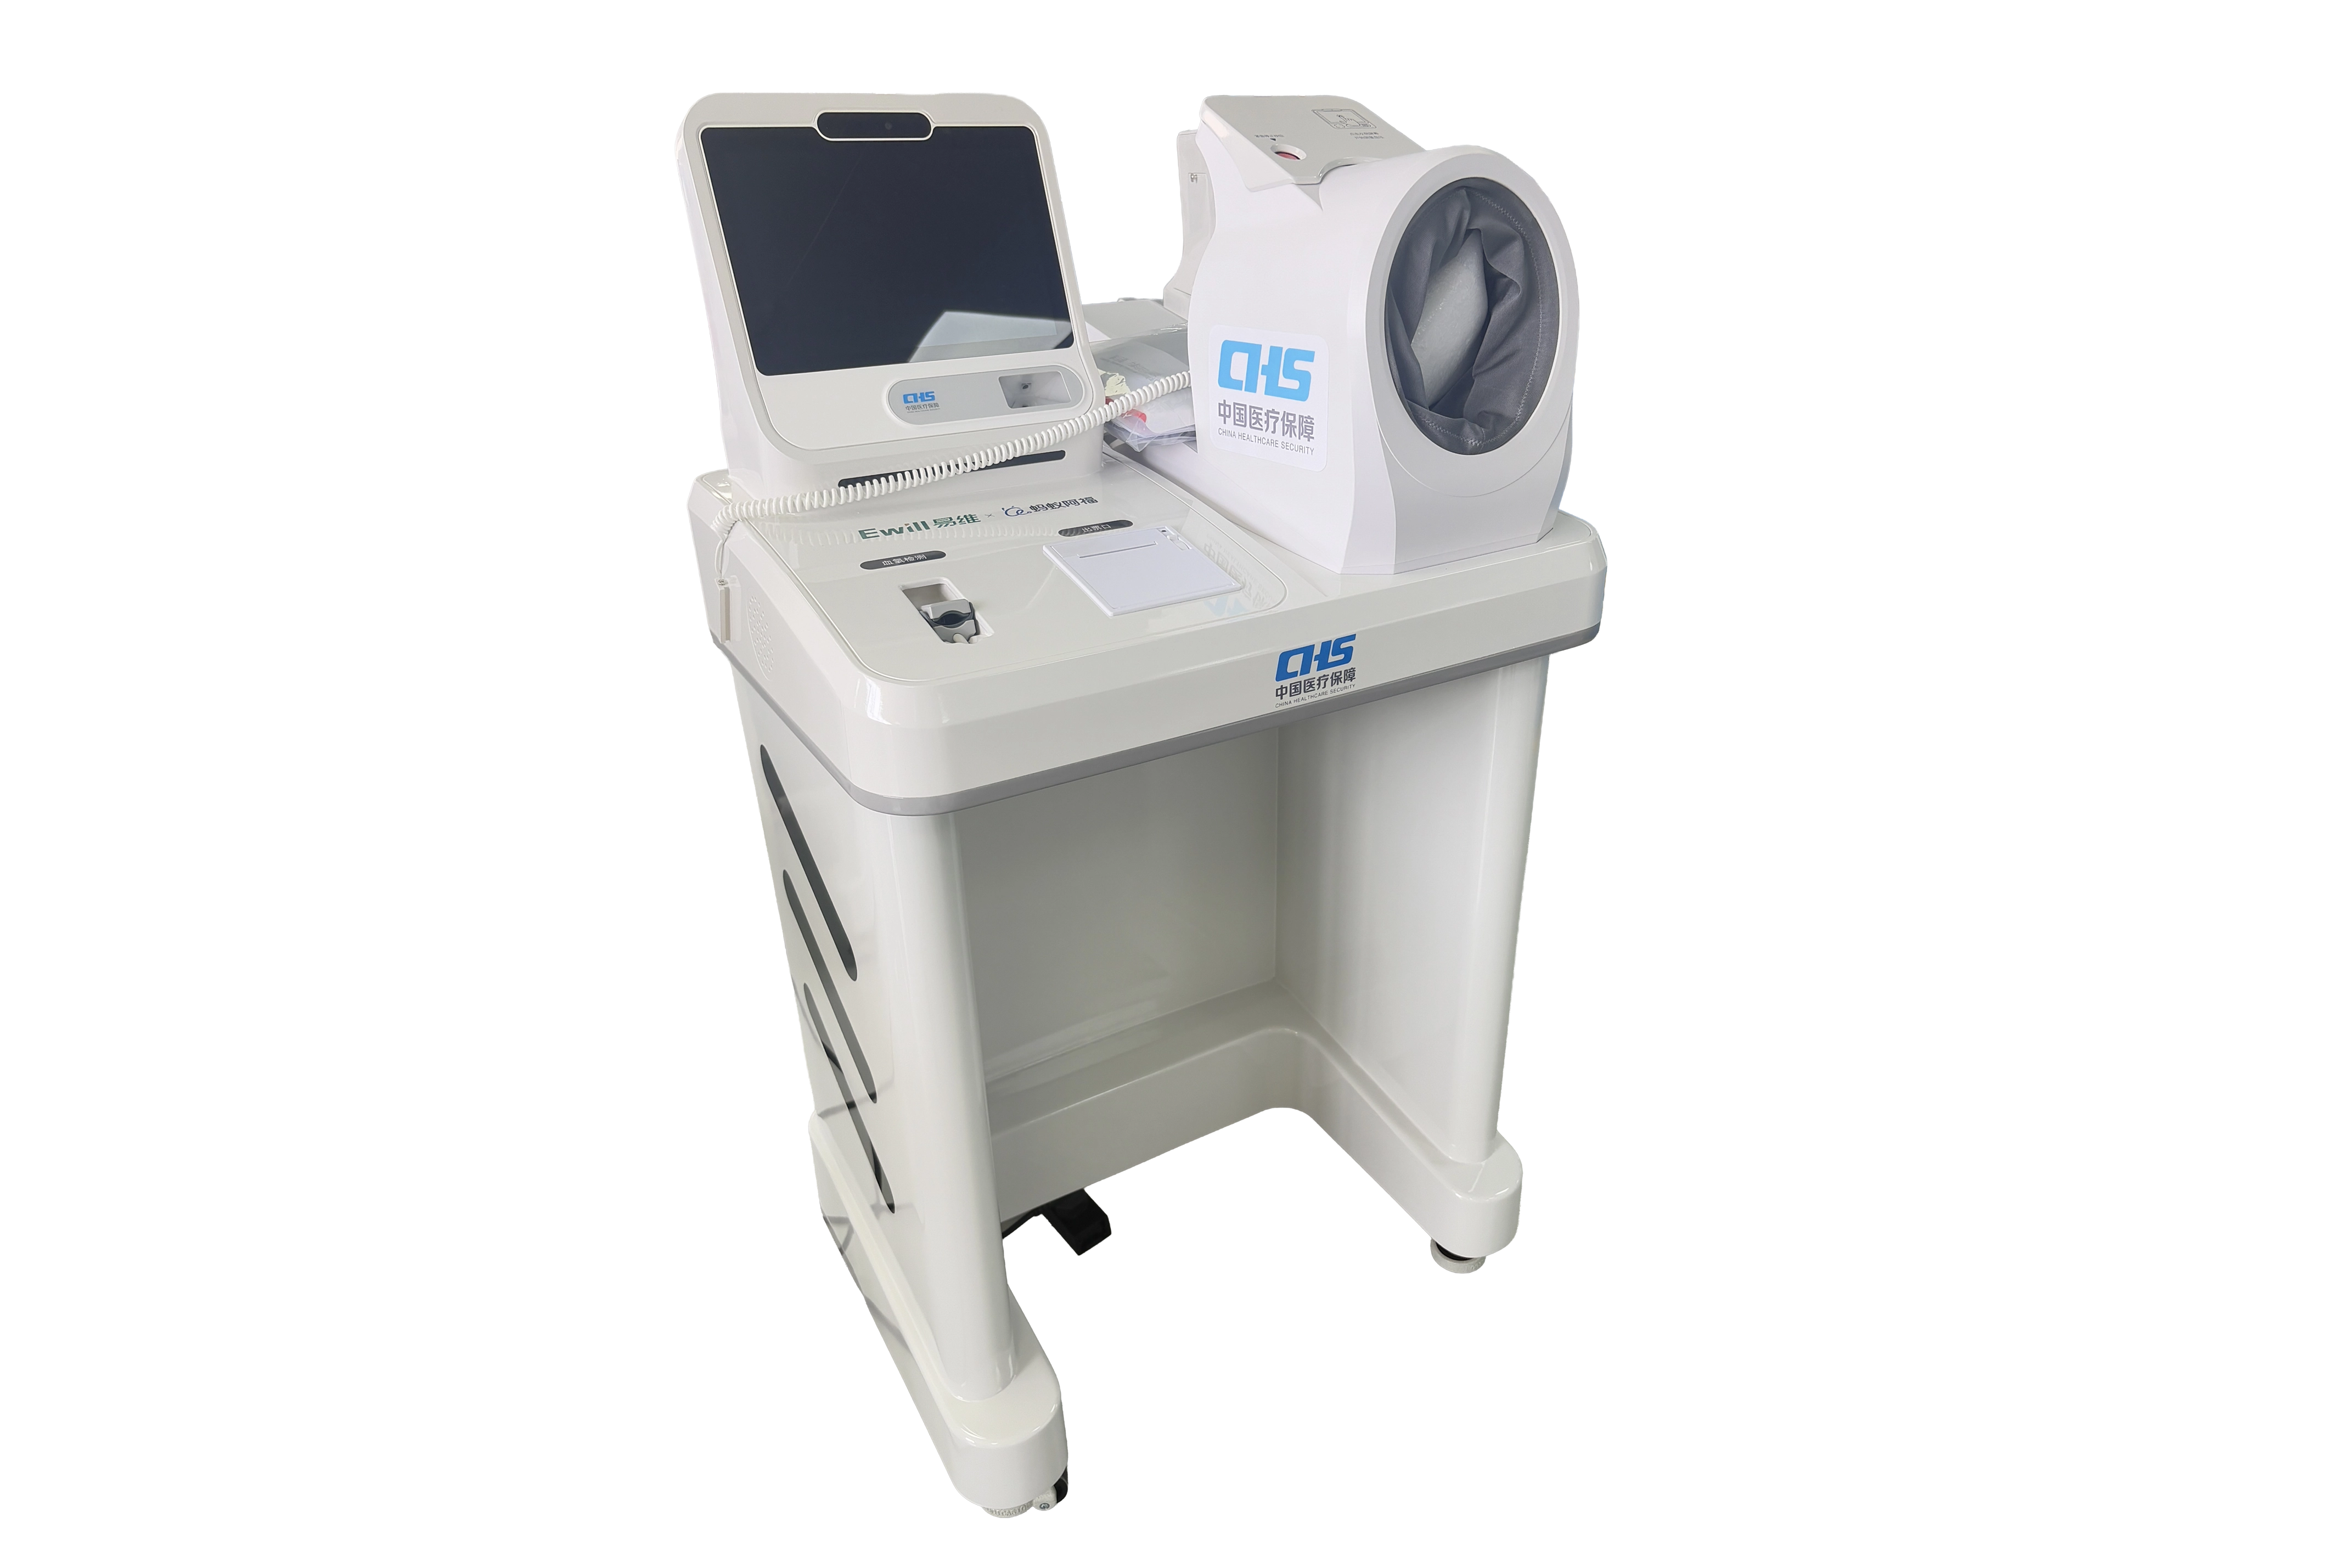
A medical equipment enclosure has to do more than provide an attractive exterior. It must protect internal electronics, support functional